Yesterday I posted my new favourite Gift Card Holder! I am loving the versatility and fun of the box card and now you can add a gift card and make it the perfect gift for anyone you know! Check Pinterest, I promise you will find a box card theme to meet your needs.
Here it is, the quick how to so you can get creating some fun cards.

Score the 4 1/4" end at 2 1/4".
Score the 11" end at 3 1/2", 5", 8 1/2" and 10". Cut the score lines on one side down to the center line (I cut it on the 2" side so the flaps were a little shorter than the base of the card). Trim off the short tab (as seen in the picture)
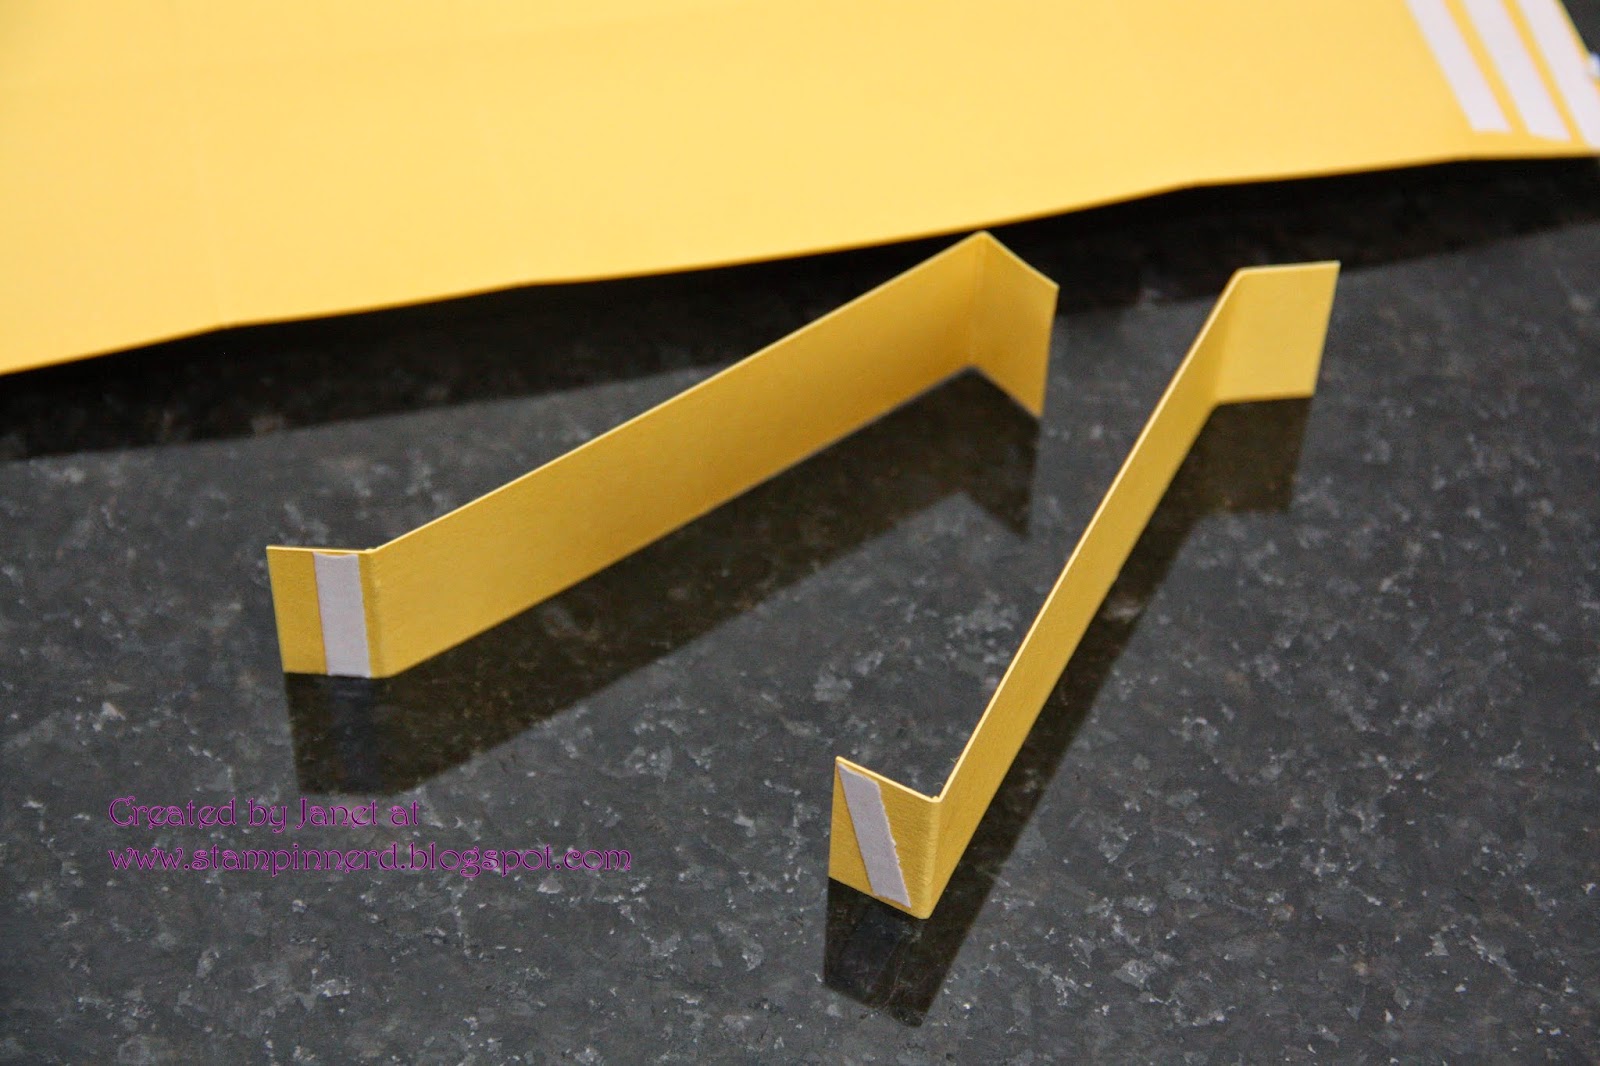
These are the pieces you will put inside the box to attach your embellishments.

1 7/8"x 3 3/8" and 1 7/8" x 1 3/8" You are now ready to add your Z shaped inserts.


Now on to the Gift Card holder. Cut a piece of Card Stock (in the same colour as the base) to 4 1/2" (plus 1/16") x 1 3/8". Score on both ends at 1/2". Add adhesive as shown.
Cover the front with DSP, measuring
3 3/8" x 1 1/4"
Attach to the backside of the box card.
If you want to add a layer for writing on it would measure
3 3/4" x 3 3/8".


Here is another finished card. I love the new word bubbles stamp set and framelits. Too Fun. As I said, I used window sheets to make the bubbles appear to float.
Let me know what you think and if you create a card I would love to see it.

Thank you so much for this! It is very well done and easy to follow. I've printed it out and am off to create. I'll refer all my "fans" to your blog page!
ReplyDelete